
CRM
Lizzy’s Customer Relationship Management is unlike anything else on the market. We understand the importance of making your customers feel appreciated and well known. It can easily take a lot of time and effort on your end. Lizzy can simplify this for you by integrating every interaction you have with a customer or business contact into one place. You will never need to re-enter information, Lizzy remembers all the details and brings it together for you. Here at nizeX, we use Lizzy everyday to run our business. We work very closely with our customers to continually improve Lizzy and ensure she works properly to fit the needs of all industries she is placed in.
True CRM is managing and nurturing your prospects and customers through their buying experiences with your business. CRM should provide you with unlimited data storage and tools that can be used in every department to direct customer interactions based on history and drive sales. When looking up a contact you should have an at-a-glance view into the buying cycle of each customer. How much have they spent in service, parts and serialized units and the timing of those experiences? CRM should also track every customer interaction, marketing, sales, service — know how, when and what was communicated. CRM should be supported by technology that enforces and reinforces your leadership.
Contact Management Only:
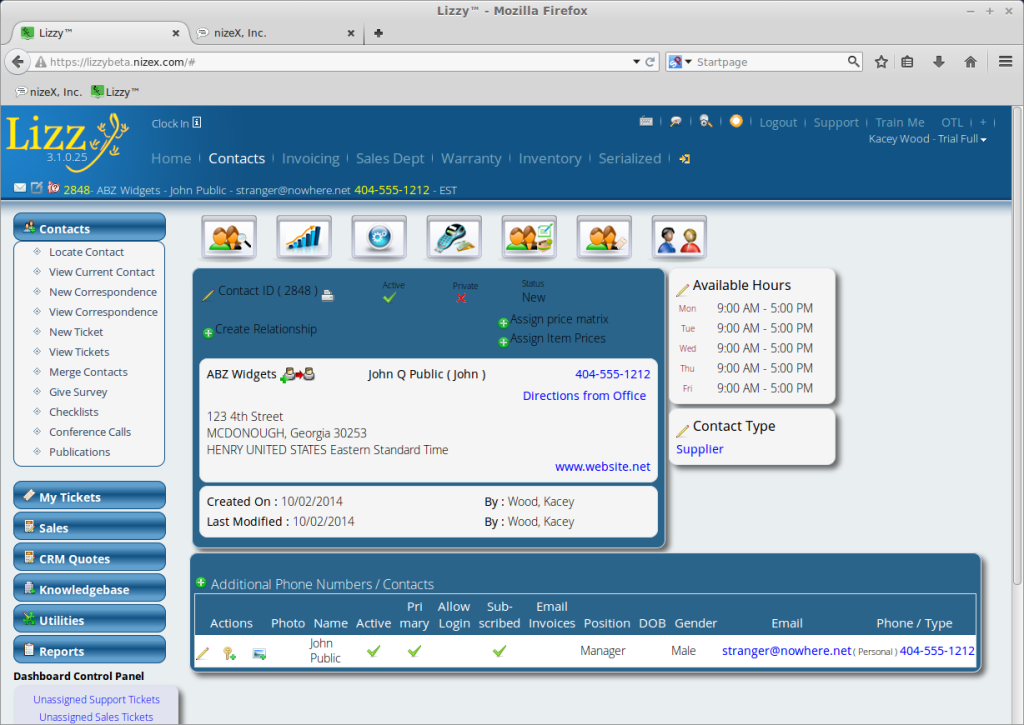
We recognize the importance of keeping track of your customer information. Lizzy’s CRM allows you to easily keep track of what’s going on with current customers, take advantage of new leads, and closely follow opportunities you may have with prospective customers all while storing the information in one place. You can easily view all past history for anyone all in the same place. This way, no matter who is talking to that customer they can always be remembered and feel comfortable doing business with you. Here is a screenshot of what the contact looks like from a first glance. Customize your email campaigns, surveys, checklists, and publications to fit your business needs.
Not only is it important to keep watch on your customers, most business owners would like to see how there staff is performing, and how they compare to each other. In Lizzy CRM, you are able to run real time reports on employees. See how your sales team compares to other departments, or how many new customers you have this month compared to last.
Customer Portals
Not only does Lizzy track customer relationships, calls, emails and tickets, but it also allows you to share some of that information with your customers. Through Lizzy, your customers can create tickets for sales or support directly from your website, without having to call in. Lizzy also allows you to provide your customers with feedback through the ticketing system as well.
-Automatic email updates for any ticket created, completed, or sent to testing
-Ability to receive feedback from customers directly from the ticket
-Customer response automatically links back to the ticket created
Sales/Support
One of the most difficult aspects of running any business is making sure your sales and support departments are performing at their best and your customers are satisfied with their experience. Lizzy can track the performance of employees for you from the beginning of each new lead, to how they interact with a customer after they have bought from you. This means you not only get to keep track of your customers but also insure issues will be resolved in a reasonable amount of time.
-Track opportunities & progress
-Give a quick quote or estimate on services
-Improve customer service & satisfaction
-Run visual reports to compare performance by days, weeks, months, or years

Integrated Communication
Lizzy CRM has an integrated email feature that gives you the ability to send or receive email directly from the application. Since all email is directly linked to a contact, this prevents employees from losing or not recording the email. Also Lizzy can send texts to customers who have something waiting if they prefer it over being called.
We have enough data flowing back and forth as it is, why not let Lizzy help organize and store it and let you keep focused on the real problems.